Woman, you are crazy.
Do you mean to tell me that you also make your own cheese?
Yup. You bet. And it tastes great.
AND it's easy.
Way easier than you think.
I know, I know, you don't believe me, but it's true.
And the rewards are endless.

Not only do you get some delicious cheese to enjoy, but the whey can be used for so many delicious treats!
First, let us look at the ingredients of the average bag of shredded cheese.

I know there are things about the food industry that I just don't understand, and I know there are reasons they add some of the ingredients they do, but what is all that?
If you have no clue what it is, you probably shouldn't be eating it.
Just sayin.
Cheese should be simple. Milk. Acid. Seasoning.
I use organic milk, a little salt, and one lemon.
Simple. Delicious. Easy.

I used up about half a gallon of organic milk in the recipe.
I put that on the stove in a medium pan on medium-high heat.
Make sure to use a thermometer. I just used my meat thermometer. It's what I had, it worked, great!
Stirring continuously, heat the milk up to 165-185 degrees. Before it is boiling.
No boiling allowed.

When that is done, take the milk off of the heat and add the juice of one lemon.
Very slowly, about 2 tablespoons at a time.

Don't worry, you will know when the curds separate from the whey.
It will look like this!
It will look like this!

The only gross part of the process, it doesn't smell or anything, just looks really funny.
Just let it sit and separate for about 20 minutes.
Now comes the job of separating the curds and the whey.
I used a small strainer, two layers of cheesecloth, and a bowl to catch the whey.
Just let it sit and separate for about 20 minutes.
Now comes the job of separating the curds and the whey.
I used a small strainer, two layers of cheesecloth, and a bowl to catch the whey.

Then you pour the whole mixture from the pot into the cheesecloth.

The whey runs into the bowl, and the curds are left behind. I leave them straining like this for about 20 minutes.
Then I take all the curds that are left over and form them with my fingers into a small patty of cheese.

I also add about 2 teaspoons of salt, for flavor.
We as a culture eat way too much salt and add too much salt to everything, like cheese.
But without a little salt, the homemade cheese tastes like eating milk.
Very bland.
So add a little salt. It's still better for you than store bought.

When the patty of cheese is formed, I then twist it into the cheesecloth and weigh it down with a full mason jar. This presses the cheese into an actual form. If you would like this cheese to stay crumbly, like for a salad topping, then skip this step and just strain the curds for another hour.


And then voila! You have about 6 ounces of delicious cheese!
You must refrigerate, it stays good for about a week.
It is very soft and delicious, good with fruit.
Honestly, this cheese recipe reminds me of goat cheese.

It is also delicious on salads, here is an example of a salad that I put some of this fresh, tasty cheese on.

Now wait a minute here, little hippie person, what about all that whey? What about your mantra of wasting nothing?
Hold on, there are so many uses for the whey! Just google it and try some.
One use for whey is to tenderize meat.
So I decided to try it with some skirt steak and make some fajitas!
I took about 1 cups of whey, 1 pound of sliced skirt steak, and a packet of fajita seasoning (courtesy of McCormick) and marinated the skirt steak for 3 nights.


I then fried the steak in 3 tablespoons of oil with some onions and peppers.
IT WAS SO GOOD!
Not just tasty, DELICIOUS! Melt in your mouth tender with tons of flavor.
And of course I topped my fajitas off with some of the fresh cheese that I made.
So. Good.

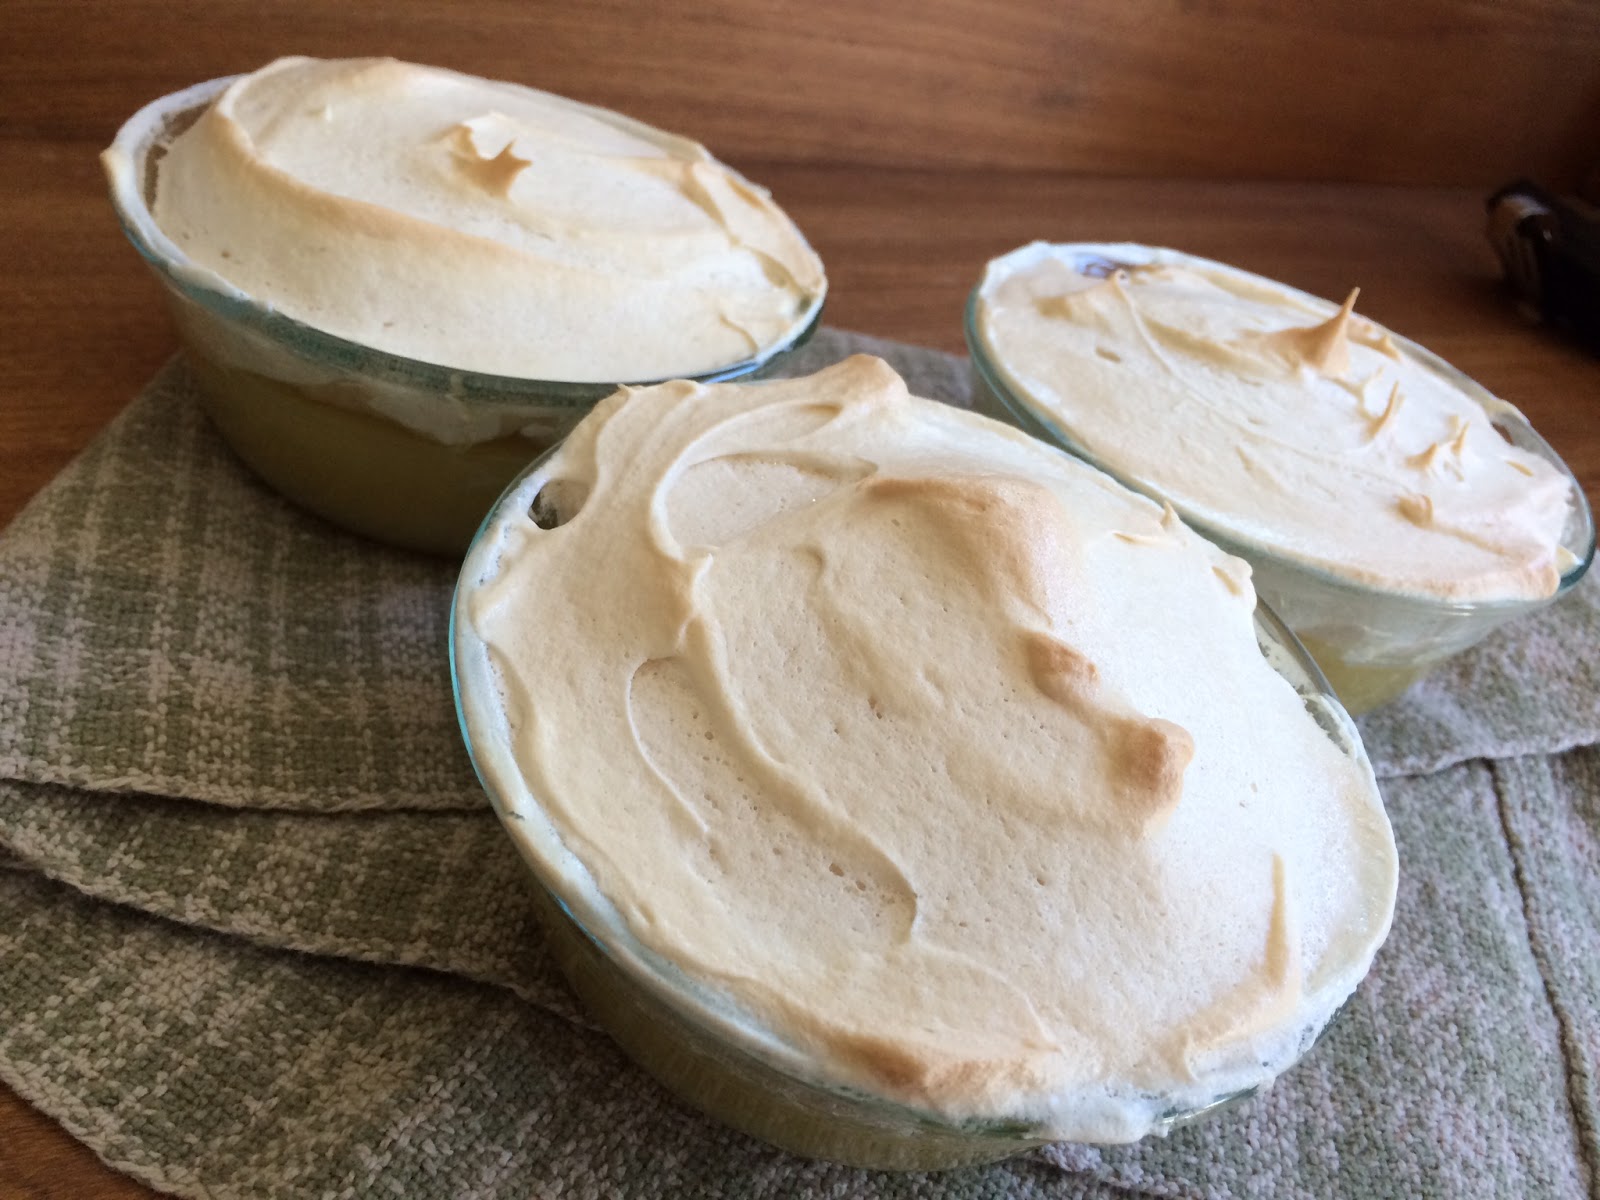
I also used the whey to make a lemon merengue dessert that I found a recipe for here:
I did make it a little lighter by putting in less sugar and skipping the crust.
I baked them in individual cups for the same amount of time as the pie recipe.
But so delicious. So lemony smooth and tasty.

I ate the whole recipe worth in 2 days.
Not the eating habits I recommend, but it was so good, how can you stop eating it?
Live a little people.
So if for some reason you think you are not creative enough, or smart enough, or have enough time to make your own cheese, this recipe is for you!
Easy. Simple. Good.
The way that food is meant to be.


